The brief:
Design and build an artificial agent that others can interact with physically
And we did – as part of Computing for Design, a NUS DID module
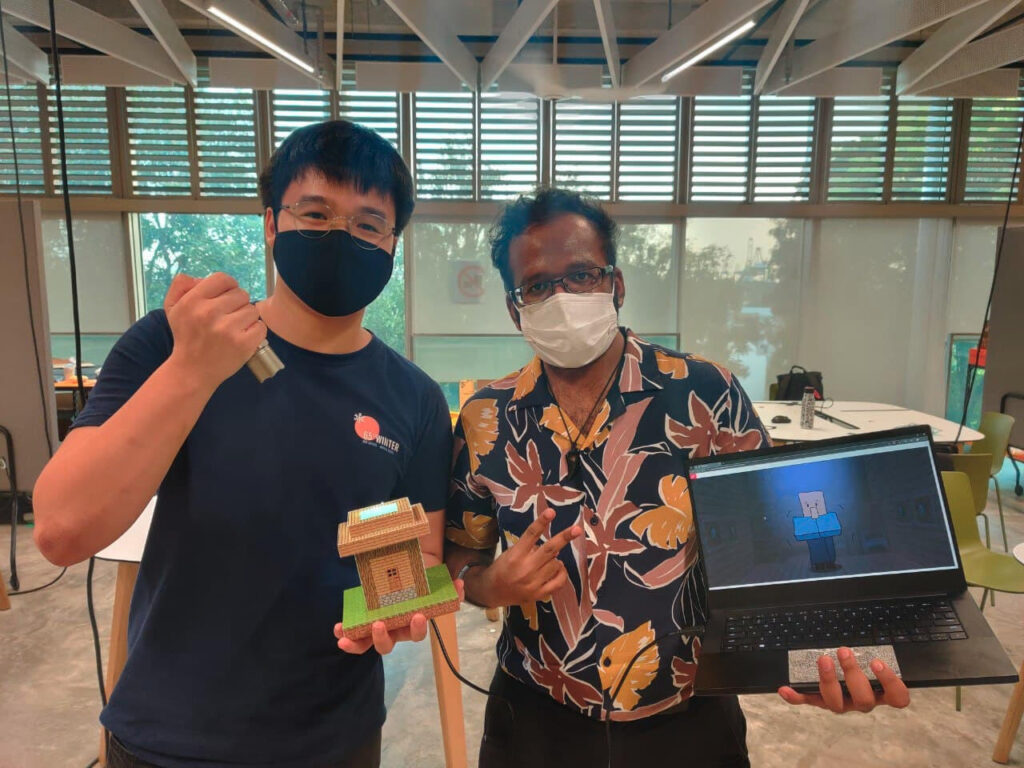
Team:
Luke Goh (Concept & Fabrication)
Srikesh Sundareasan (Concept & Dev)
Under the supervision of:
Clement Zheng
Benjamin Xue
my role
Concept and Ideation.
Motion design and animation.
Web development and Interaction design for the agent
Understood the capabilities and interaction opportunities afforded by various sensors.
Developed an artificial agent based on P5.js and serial communication to interface with a Microbit.
Deployed and demo-ed the agent which worked well and was well received by the audience
Project Video
gallery
About
Why do designers need to learn to code? To be able to make cool things of course! This project was a one-week speedrun on prototyping with computing in mind. Powered by a BBC micro bit V2, this Minecraft-inspired project comes to life using our repertoire of designing for fabrication and programmatic thinking.
The main interactions
The concept of Bob
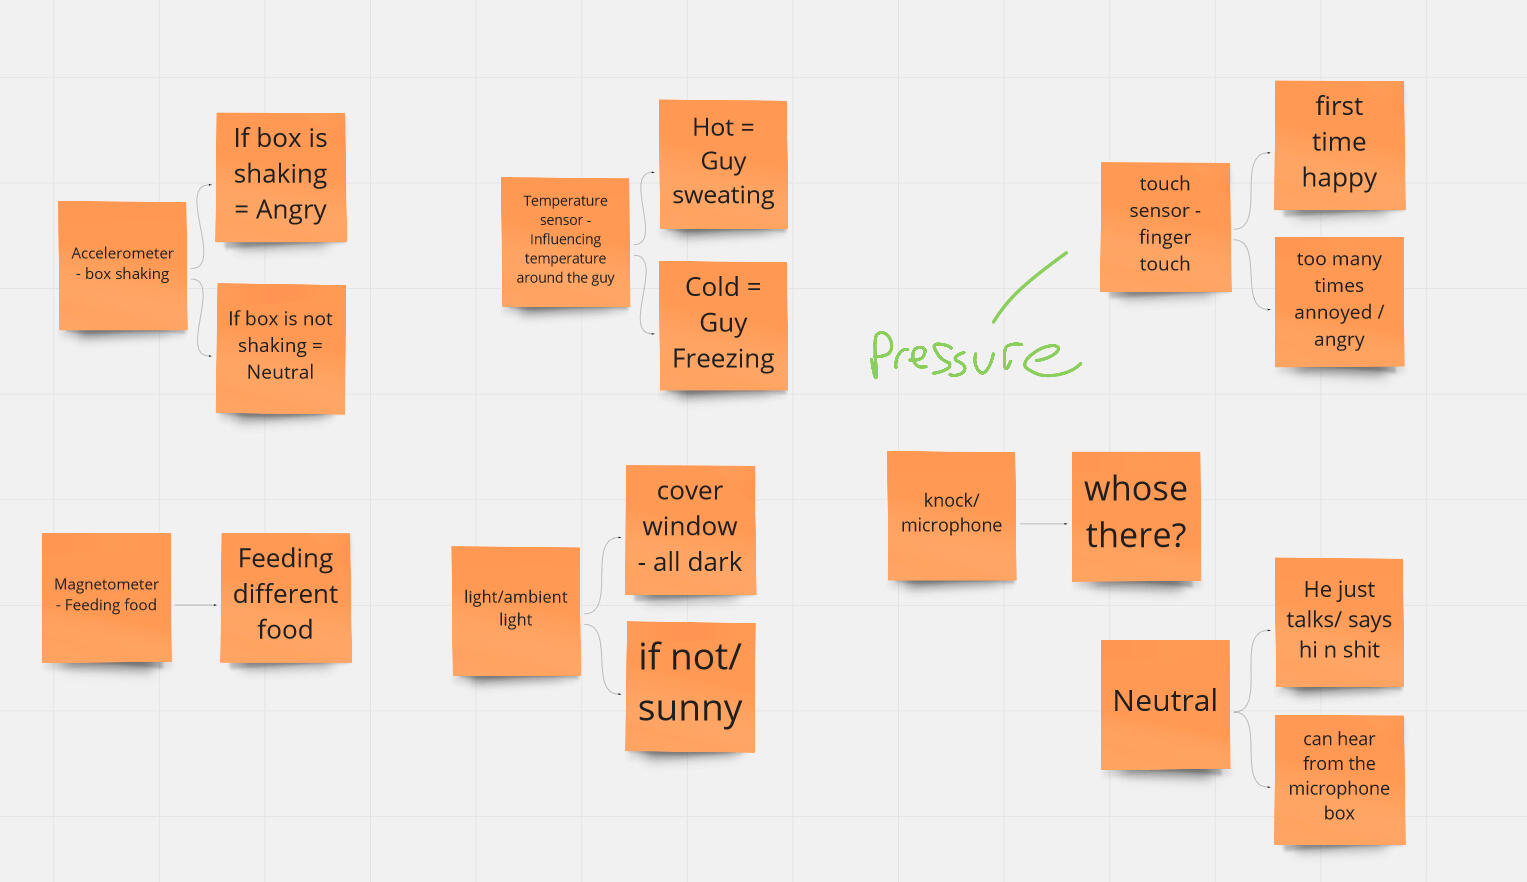
The ideation phase started by breaking down the different sensors of the microbit. Then, we used our experience of working with these sensors from past project to ditch unreliable sensors. Sensors like temperature sensors are a tad too finicky to play with. The way of activation for this ‘box’ was important too. After coming up with switches and pressure sensors (which are really unreliable) we landed on the idea of using the on-board light sensor to switch between states.
While our main project brief stated to only use 2 of the specified sensors, we decided to go forth with 3 – capacitive touch, sound and light. Our logic was that if we were unable to get reliable readings off of one of the three sensors, we would still be able to fall back on the two that are left – which, in any case, satisfies the project.
Our concept was slightly different (and more complex) than many of the groups that were working on this project. Instead of our interactions directly affecting the main character, we wanted a two-stage approach. One where our interactions affect the environment the character is in – which in turn sparks a reaction from the character.
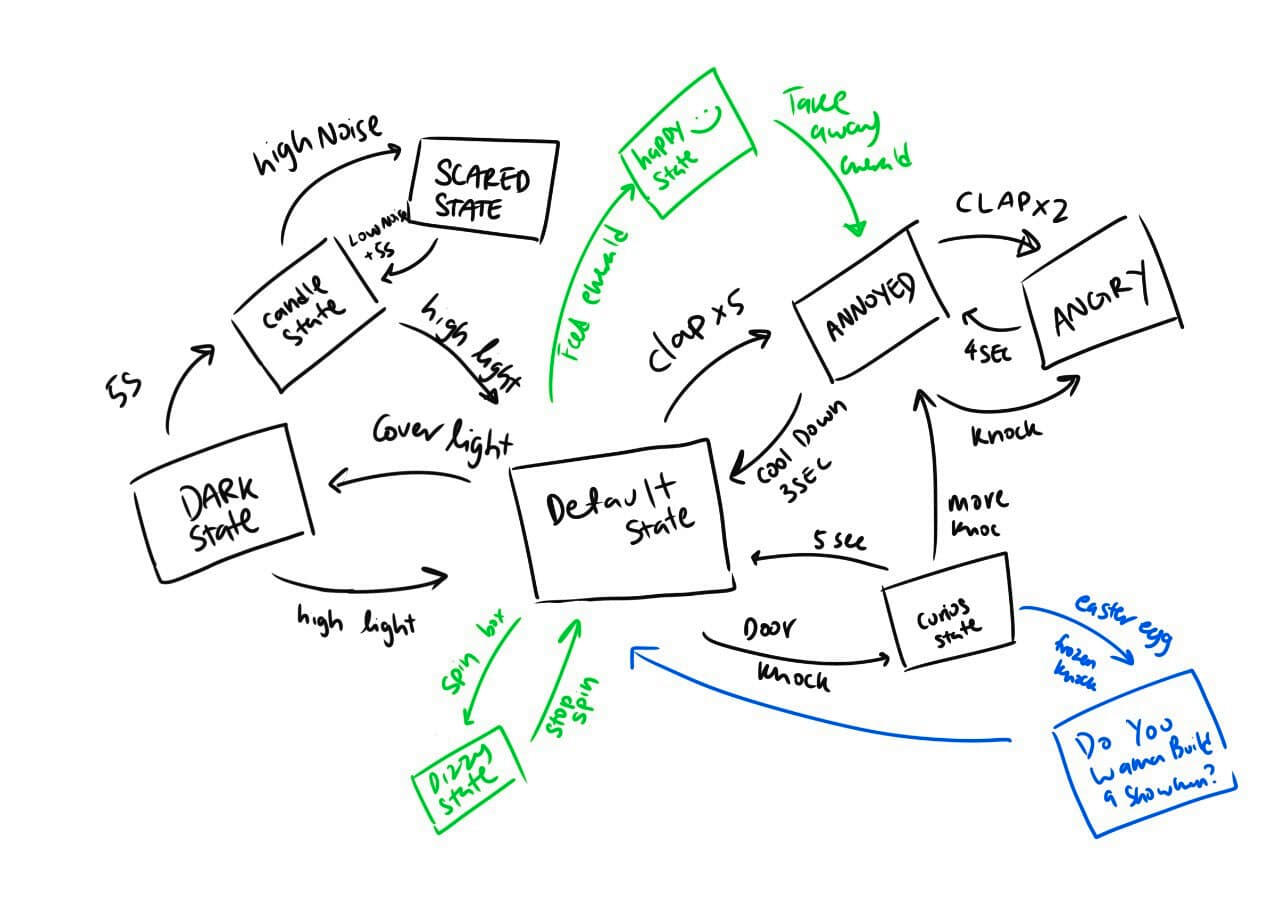
To better visualise these states, we drew out a state diagram. Black being the core that had to be done, orange being nice to haves, and blue – which were easter eggs to be added if only we had enough time. Due to the rush of the project however, we will soon realise that even doing the main state was too much work to be done in the matter of one week.
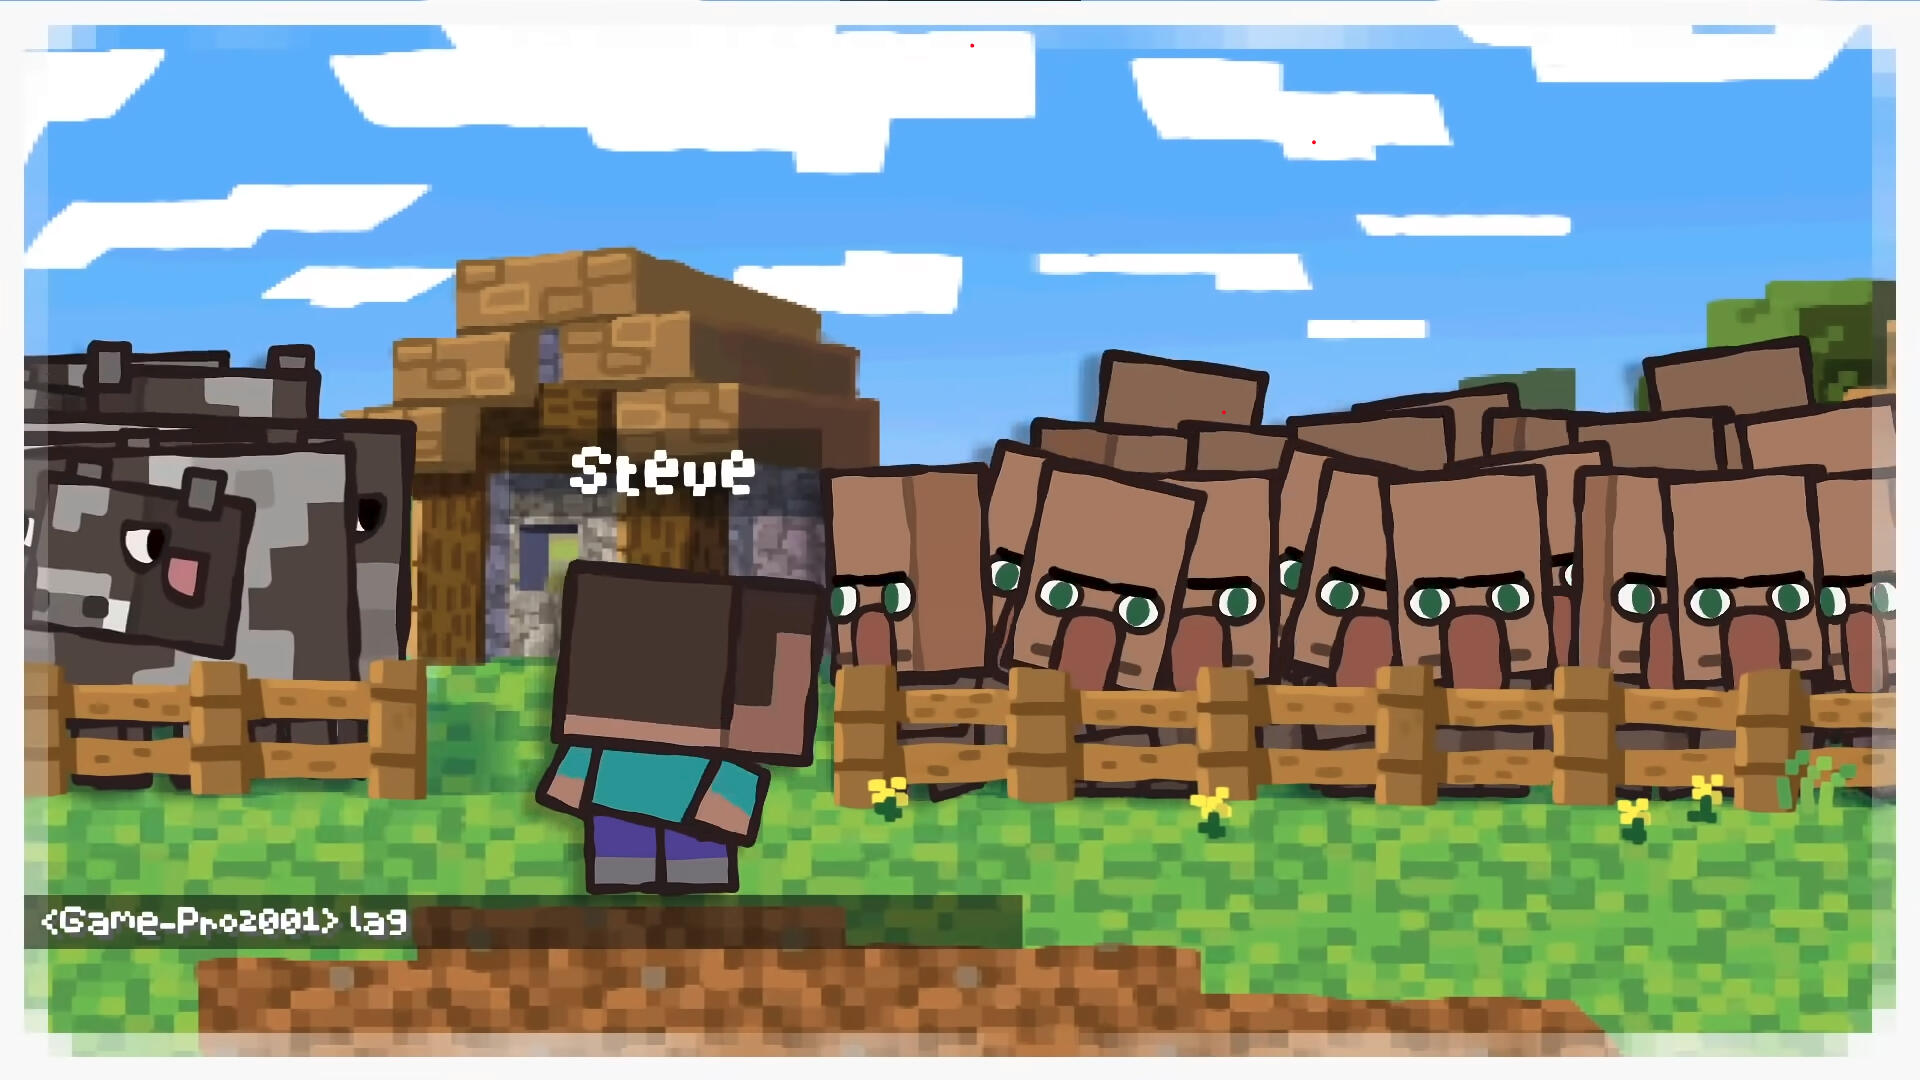
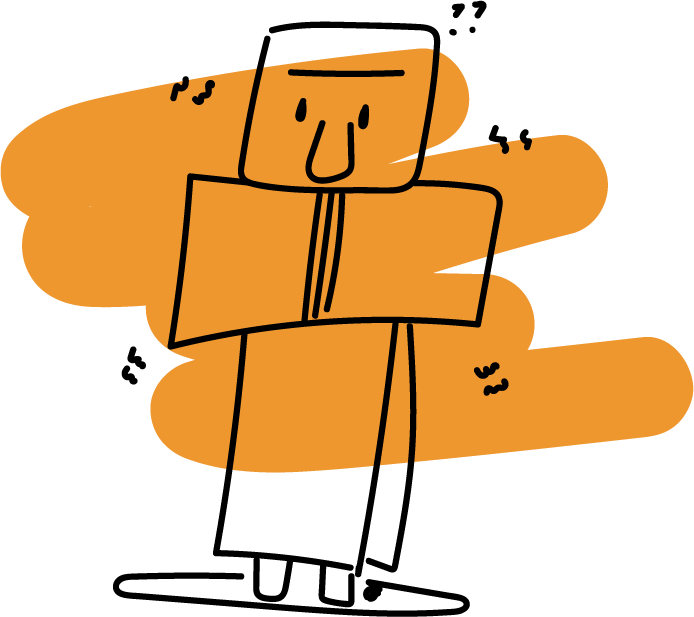
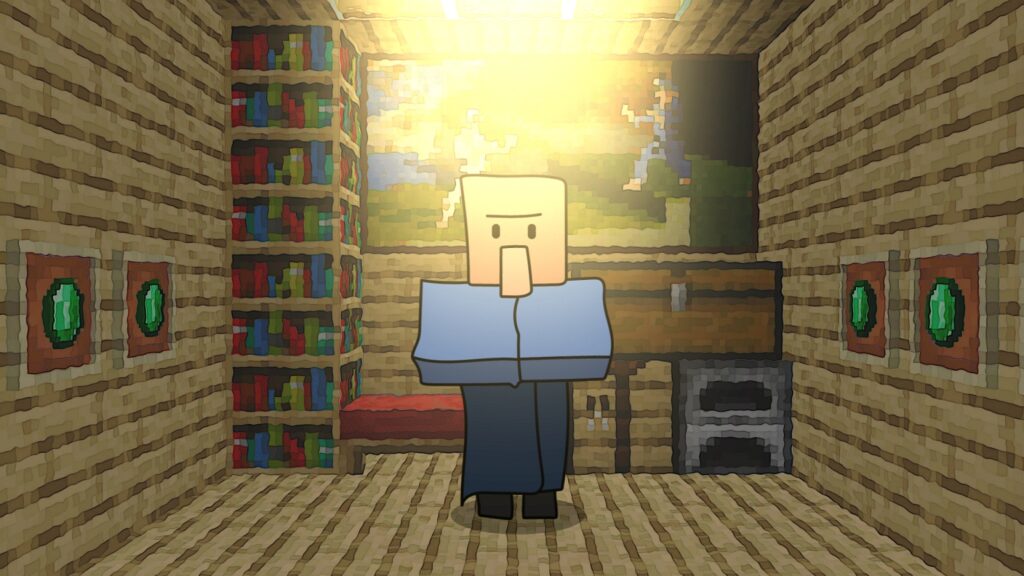
While brainstorming, we chanced upon this comical cartoon recreation of Minecraft. This particular frame sparked the lightbulb in both of our minds as we thought of: ‘Let’s make a villager in his house who we can annoy the sh*t out of!’ 😀
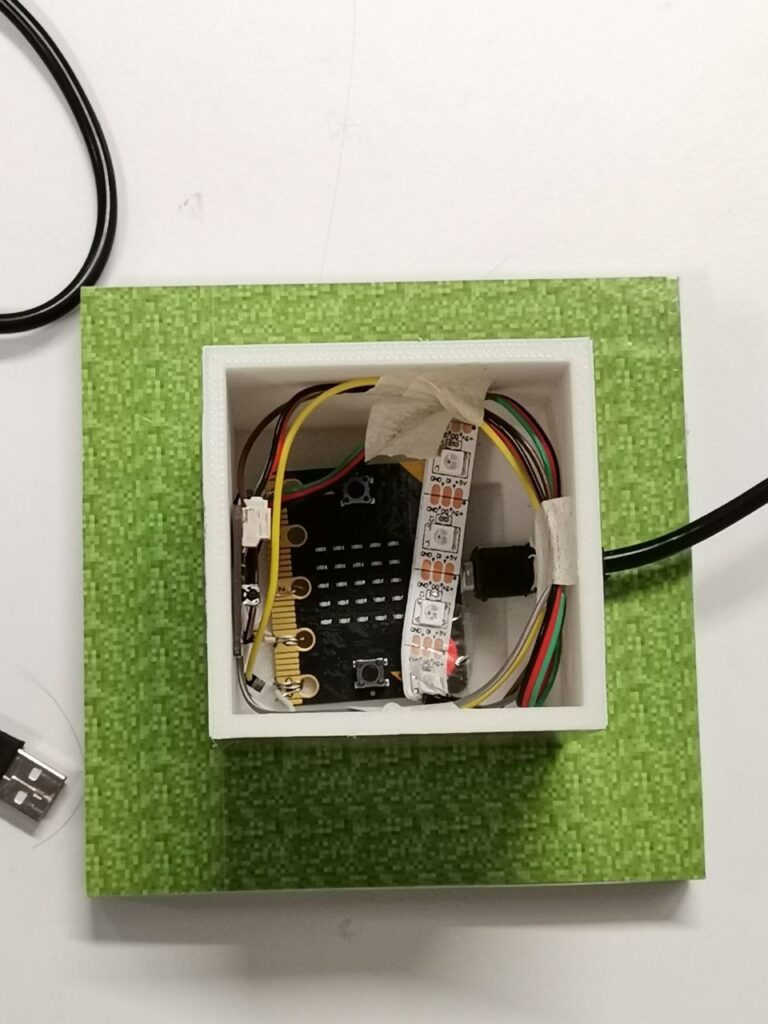
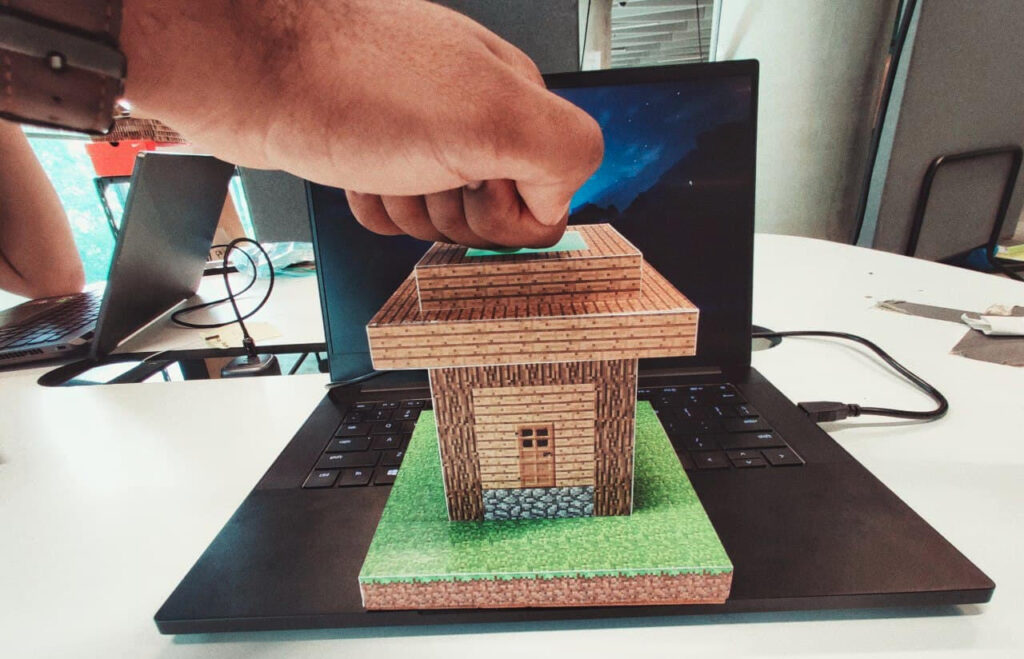
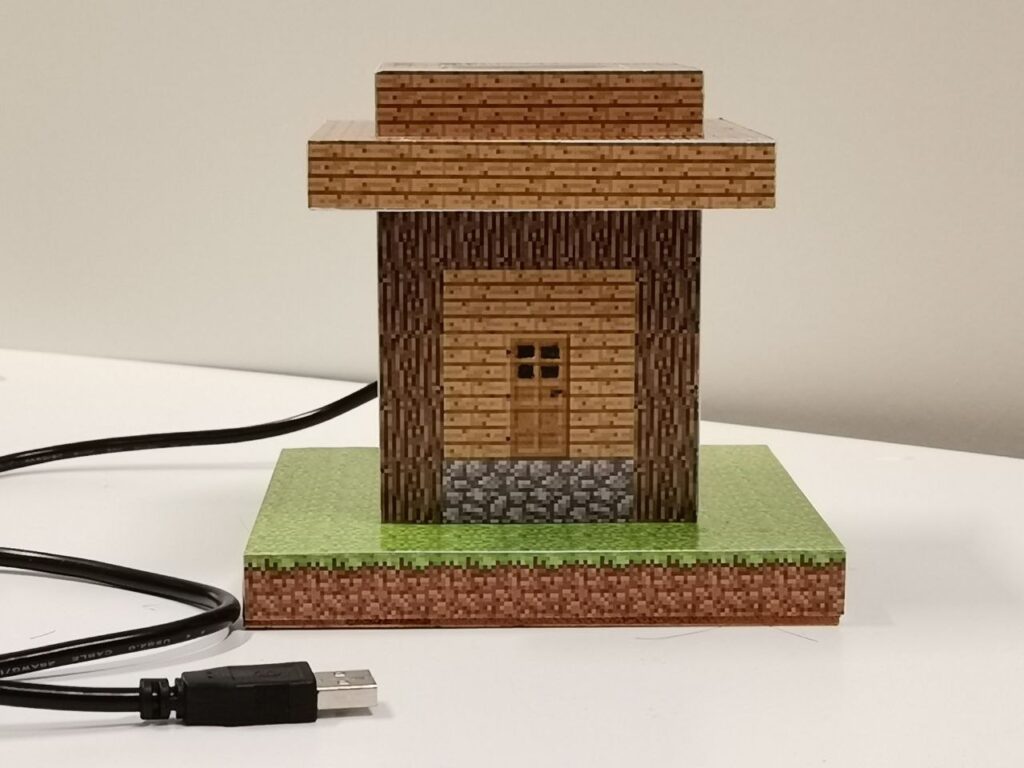
Fabrication
To start off with our controller, we decided to design a basic Minecraft house in Fusion and 3d print it. The idea was to paste some prints of the textures onto the 3d print when the house was done. While that was cooking, we started off with the micro bit code.
Through testing, we realized the capacitive touch sensor was way too finicky, so we proceeded ahead with sound and light sensors. In a moment of pure luck and genius, we realised that, on paper, it was technically possible to do four different interactions with just these two sensors.
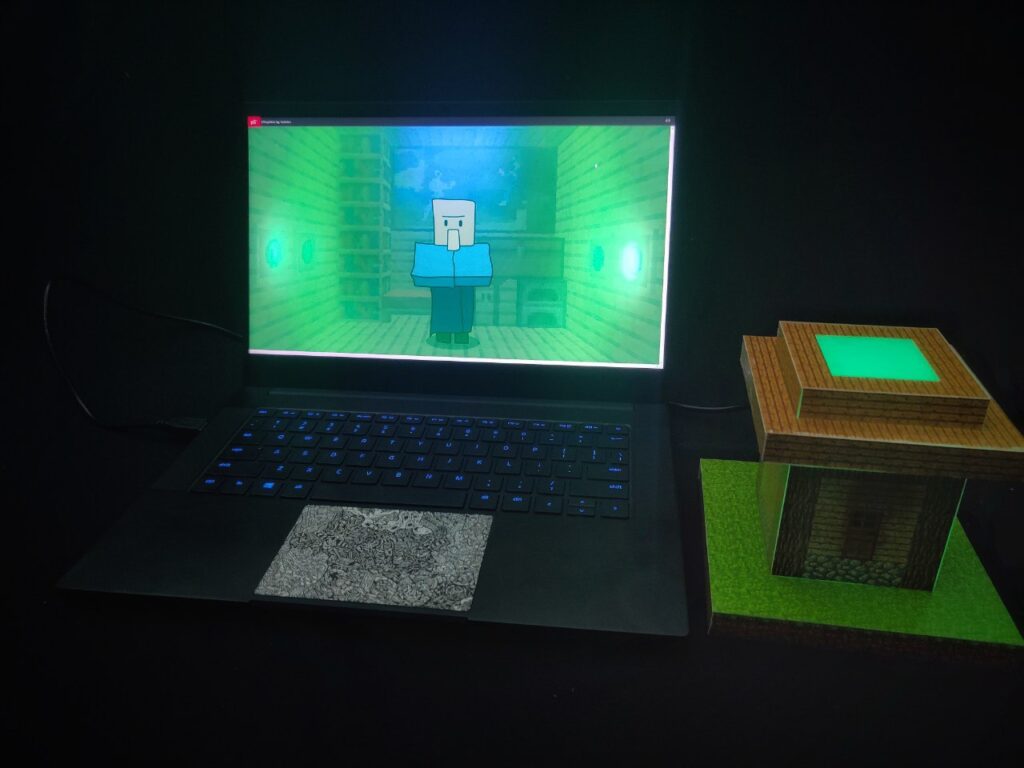
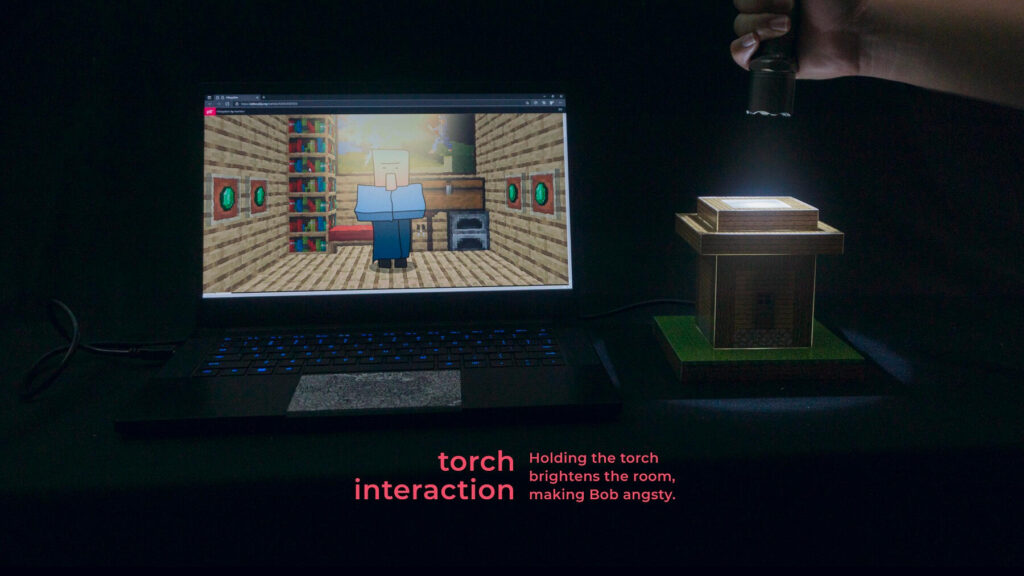
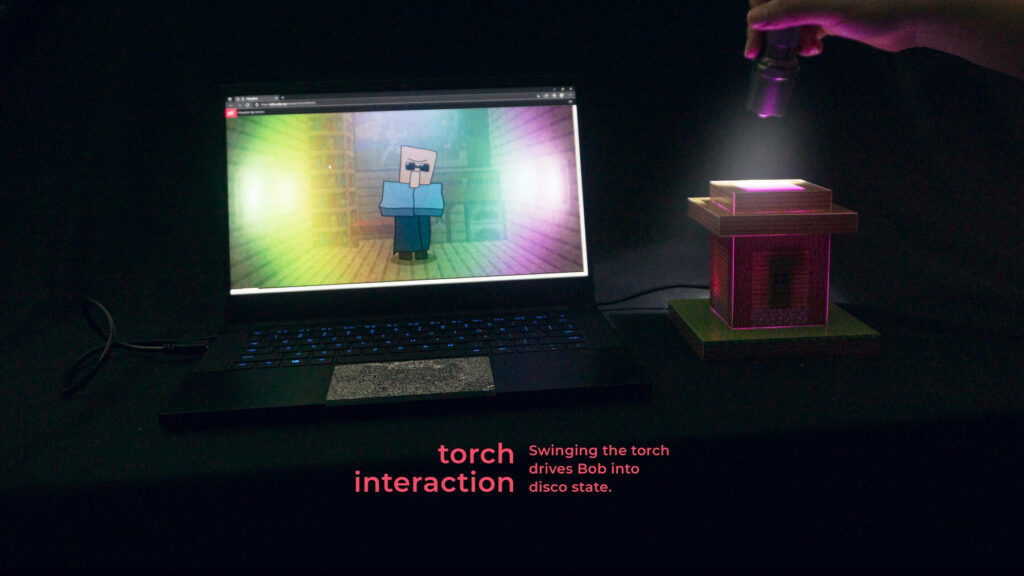
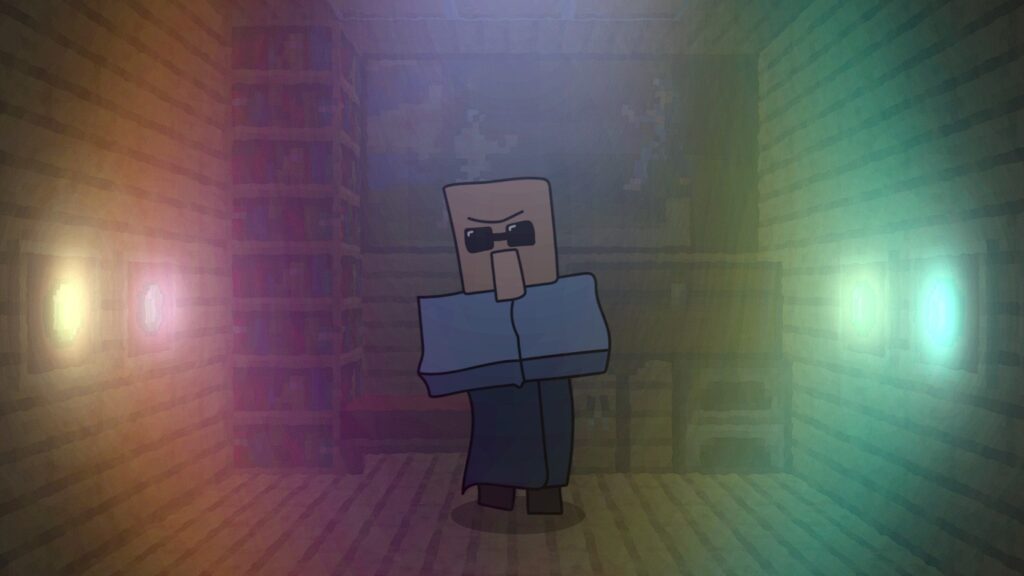
Firstly, the light sensor. For a start, we will be able to detect when the light is on, and when it is off. But if we are crazy enough to push it further, we will be able to detect changes in light (flickers and shakes) too. If we consistently calculate the delta of the shaking light, we could detect the peak. This was the moment the ‘Disco State’ of Bob was born.
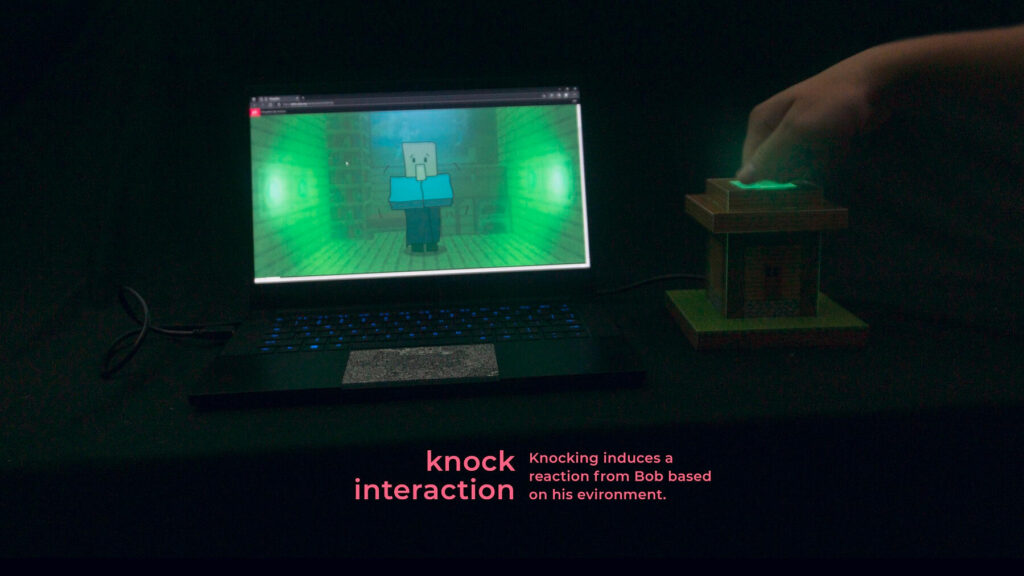
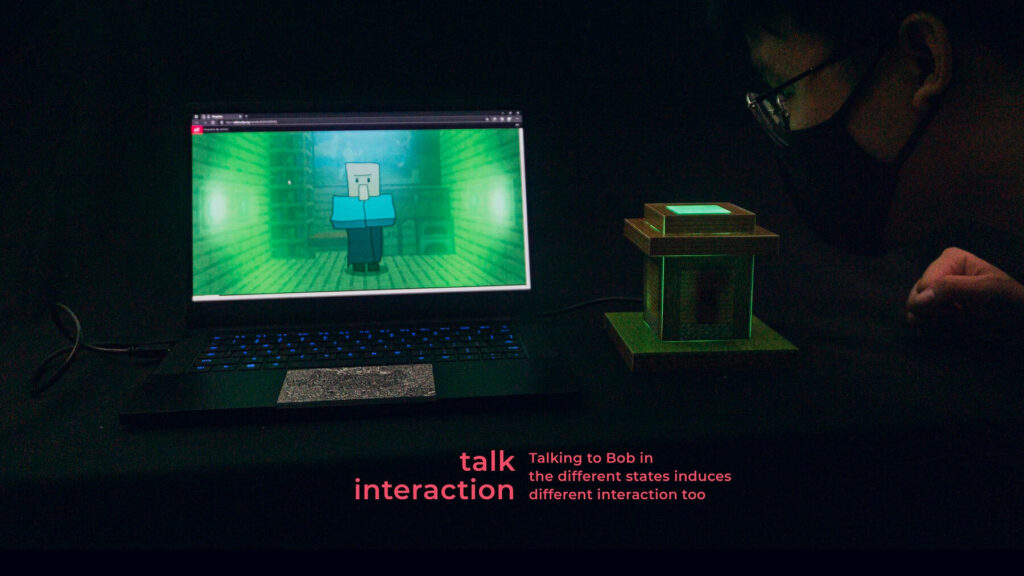
Secondly, the sound sensor. While it is obvious that we are able to detect loud and soft noises, there was one thing that we didn’t take into consideration. Since the microbit was placed inside the ‘house’, the enclosure blocks a lot of the noise that comes in. This means that “talking to the box” maxes out at a distinctly lower level as compared to directly knocking on the enclosure.
This is how we were able to maximise the utilisation of just two sensors, and create four interactions out of them.
While Luke got the micro bit working, I got p5js to work. Making a web-based player of sorts, the p5js window will play animations and give the user feedback based on what the microbit sends here. After settling the animations, background elements, and sounds, I got to work on timing the objects and creating different states based on the diagram. Creating code and debugging on p5js is pretty troublesome – the compiler doesn’t really tell you where an error might be, and you are forced to look through your code bit by bit to find out where the issues are.
As I have delved into visual effects compositing before, I noticed that blending modes can actually be used to a great extent in the current project. By splitting up the picture into three layers (the background, Bob, and the light/glow around) we are now able to set the top layer of lights to “blend(ADD)” which just blends the lights cohesively into one proper scene. To be honest, this method was extensively used in the disco scene too – the lights are just added onto the setup of the night scene, which in turn gives a new look without using a new scene/artwork.
Most of the time, however, was spent trying to polish the code and the timings, so that the enclosure we have will be cohesive to the visuals on screen. To do this, synced up the timing of the torch animation on screen, and the neopixels in the enclosure to go off at the same time. This effect also happens during the ‘Disco state’.
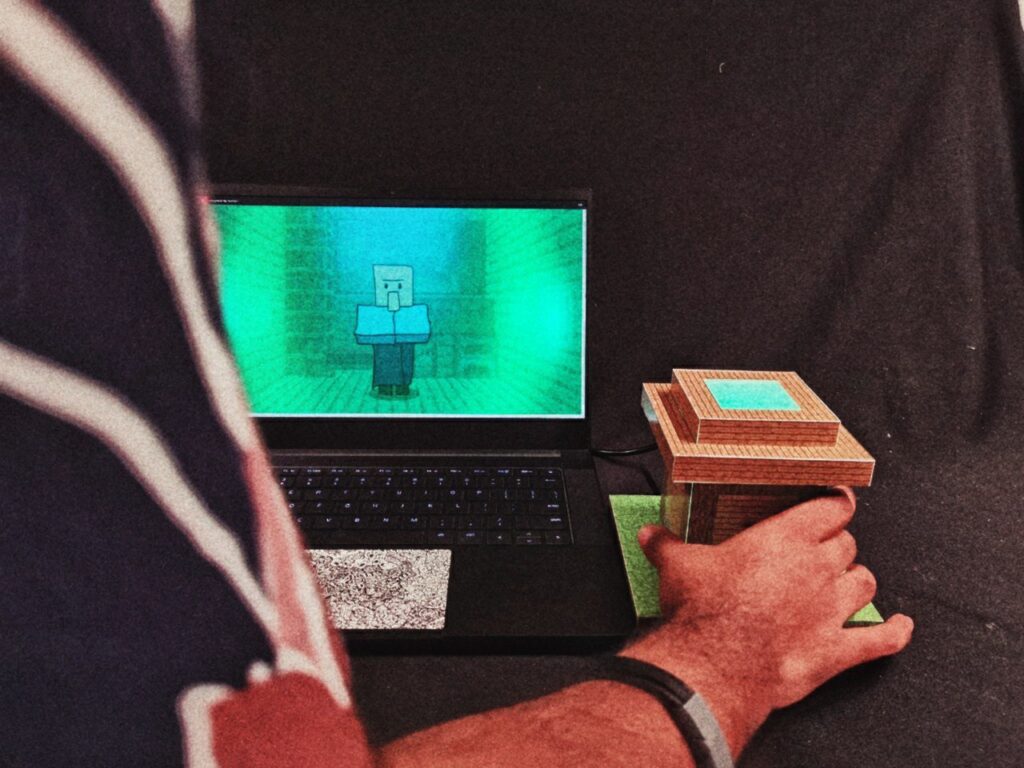
A decent amount of time was also spent testing the enclosure on different people – and everytime someone broke our code, we tried to patch it up.
To add a little more ‘oomph’ to the disco animation (and mostly cus we just wanted to play with it) we added a small vibration motor that buzzes around in sequence whenever disco mode turns on. Many people didn’t realise it, but it was a cool moment when the few who noticed it, did notice it. With the last little bit of time, extra sounds were added in a loop (with our trusty rickroll at the end) to give some replayability to the disco mode.
As our last 3 days of poking around till 4am came to an end, all we could do next was to brace for impact that was soon to follow.
Demo Day
Conclusion
Honestly, despite the mad rush of the project’s duration, we learnt a whole lot. Looking back, our first ever step of looking at the sensors and identifying which were reliable enough to work with and choosing them carefully saved us a lot of trouble in the following days. It was due to the pretty solid planning and proper, balanced work allocation for either of us that allowed us to do what we do best, and even experiment in the process to to a lil bit ‘more’.
Insane experience…but I hope I don’t end up in this mad rush of a project anytime soon.